Mobile Home Remodeling Ideas

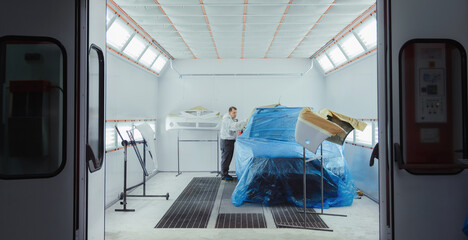
Mobile Home Remodeling Tacoma WA breathes new life into living spaces and increases comfort, style, and value. However, it’s important to consider the potential risks and rewards before deciding to undertake this type of project.

For example, window problems should be addressed immediately to prevent water damage or mold and mildew growth. Other projects that typically offer the highest return include kitchen and bathroom remodels, flooring replacement, and energy-efficient upgrades.

Mobile Home Renovation Ideas and Hacks for Improvement

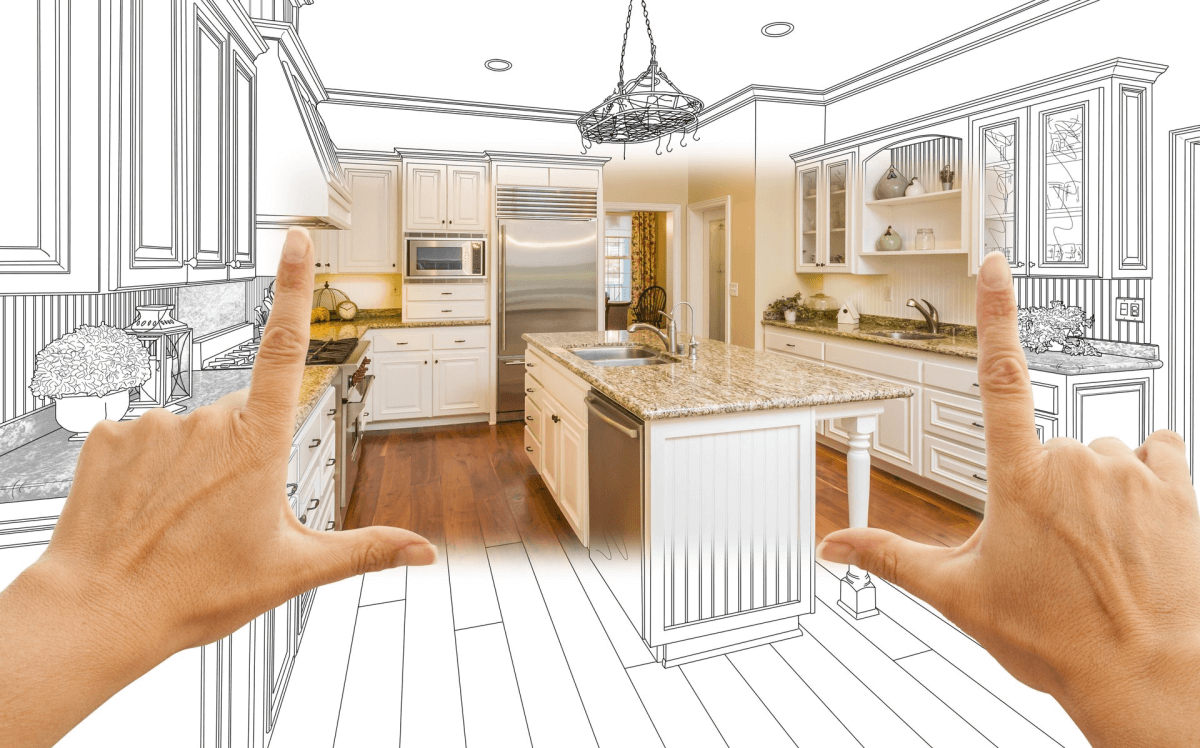
Remodeling your kitchen is one of the best mobile home remodeling ideas. It not only increases the value of your home, but also improves its functionality. You may want to install a new stove or refrigerator, upgrade your cabinets, or add a island. Kitchen islands are a popular choice for mobile homes because they provide additional counter space and storage. Additionally, they can be built at an affordable price.

A mobile home kitchen can be transformed by applying a fresh coat of paint to the walls and cabinets. It is also a good idea to replace your appliances and light fixtures. A new kitchen can transform your entire living space, making it a more comfortable place to live.

Kitchens are the heart of a home, so it is important to make sure they are well-designed. If you have an older mobile home, it can be hard to find a kitchen design that suits your taste and budget. However, with a little effort, you can transform your old mobile home into the kitchen of your dreams.

Mobile home remodeling is a great way to increase the value of your home in San Francisco and Livermore. In addition, it can help you improve your quality of life by transforming outdated rooms and installing energy-efficient upgrades. To maximize the return on your investment, you should plan your mobile home remodeling project carefully and choose a trusted local professional. Start by assessing your property and determining what areas need improvement. Then, make a list of your desired upgrades. During the planning process, make sure to include any necessary permits and a realistic timeline for completion. You should also consider the cost of any unexpected expenses that might arise during your mobile home remodeling project.

Flooring Replacement

Often, older mobile homes have floor insulation damaged by plumbing leaks or rodents. This can cause the floor to sag or feel soft. Replacing flooring is a great DIY project that can boost the curb appeal of your mobile home, as well as help to increase comfort and energy efficiency.

First, remove the existing flooring and dispose of it. Then, you’ll need to decide which material to use for your new floor. Vinyl floors are a popular choice for mobile homes, as they’re water-resistant and inexpensive. Laminate floors are also a good option for mobile homes, as they’re durable and can mimic the appearance of other materials like hardwood or stone.

Once you’ve chosen your flooring, make sure to allow it to acclimate to the temperature and humidity of your mobile home. Then, install underlayment, if desired, to add extra insulation and soundproofing. Finally, start laying your new flooring! Remember to stagger the seams and use screws instead of nails to secure them in place.

Once you’ve completed your flooring replacement, enjoy the results of your hard work! Move your furniture back in, and don’t forget to add finishing touches like area rugs or decorative throw pillows. And don’t forget to treat your newly installed floor with care, to avoid scratching or damaging it.

Bathroom Remodels

Bathrooms are one of the most frequently used areas in a mobile home. Over time, fixtures and features can begin to wear out or simply lose their appeal. When this happens, a simple remodel may be enough to refresh the space and improve its functionality. However, more extensive upgrades can also add value and appeal to the home.

The first step in a bathroom remodel is to assess the space and identify issues. This will help determine the scope of the project and determine if any permits are required.

Once the space has been analyzed, it’s time to set a budget and create a plan. This will help ensure that the remodeling projects align with your lifestyle needs and budget constraints.

In addition to maximizing space, other considerations include incorporating water-resistant materials and enhancing ventilation. It’s important to choose durable and visually appealing materials that match the existing aesthetic of your mobile home.

For example, upgrading the flooring to something more stylish and modern can make a significant impact on the overall look of your bathroom. If you’re unable to replace the entire floor, opting for moisture-resistant flooring is a great solution.

A remodeled bathroom is a key factor in increasing a mobile home’s value. An outdated or unfinished bathroom can turn potential buyers away from a property. A well-designed, fully functional and aesthetically pleasing bathroom will increase the likelihood of selling your mobile home quickly and at a desirable price point.

Add a Deck or Porch

A mobile home remodel can be a big project that can transform your living space. Whether you want to update the kitchen, bathroom, or a combination of rooms, remodeling is a great way to upgrade your mobile home and add value to your property. However, mobile homes are different from traditional site-built houses and require special considerations when planning your renovation. The first step in a successful renovation is establishing your budget and creating a plan for the work to be completed.

Many homeowners choose to focus on updating the common areas of their mobile home, such as the kitchen and bathrooms. In the kitchen, new cabinetry and countertops are popular choices, while bathroom upgrades often include new water-efficient toilets and showers. Adding a deck or porch is an ideal way to increase the amount of outdoor space in your mobile home and creates an attractive entryway to your home.

Other popular projects for mobile home remodels include painting and skirting updates. The latter can help make your home look more like a traditional house, increasing its curb appeal and perceived value. Whether you choose to hire professionals or take a DIY approach depends on your skills and comfort level with the renovation process.

A final way to boost your home’s value is by making energy-efficient upgrades. This can include replacing old appliances and HVAC systems with EnergyStar-rated options. This can help save you money in the long run and reduce your carbon footprint.

Energy-Efficient Upgrades

The best mobile home remodel projects include both aesthetic and energy-efficient upgrades. Achieving the right balance between your vision for your mobile home and practical considerations helps you avoid costly mistakes and make smart choices to boost resale value and quality of life. The most popular projects focus on kitchens, bathrooms and communal living areas. Replacing countertops and cabinetry, adding modern water-efficient appliances, repurposing room layouts to create pass-throughs between kitchen, dining and living spaces, and installing luxuries like double sinks are popular upgrades in these key spaces.

Investing in energy-efficient upgrades saves money, improves comfort and livability, and protects the environment. Sealing air leaks, insulating walls and floors, and switching out traditional incandescent lighting for LED or CFL fixtures all reduce heating and cooling costs while creating a healthier indoor living space.

For the ultimate in energy savings, upgrade to double or triple-pane windows that cut outdoor noise and condensation while reducing heat loss by up to 30 percent. This is a low-cost project with rapid results.

Installing a new roof can also be an effective way to increase energy efficiency. Replacing existing shingles or weather stripping with new, more efficient materials reduces heat transfer and improves the look of your home.

While some mobile home improvement projects require a substantial investment, financing options are available to help you get started and pay off the debt over time. Santiago Financial, Inc. specializes in mobile and manufactured home lending, offering a variety of flexible and affordable financing options to help you accomplish your remodeling goals. Contact us today to learn more about our services and apply for a loan!

How to Repair Fiberglass Auto Bodywork

Fiberglass is an inexpensive and lightweight material that became a staple of classic cars. Trades training students who are interested in working on these vehicles should learn how to repair fiberglass auto bodywork.Worker/painter working on car bodywork in paint chamber/workshop.

A typical fiberglass repair starts with cleaning the damaged area, then roughing it up with a heavier grit to create a mechanical bond. The repairman then applies a resin mixture to the damaged area and lays the fiberglass cloth over it. Click the Fiberglass Auto Body Repair to learn more.

The first step in working with fiberglass is to properly assess the repair. The body must be clean and free of rust, dirt, grease, or other contaminants that will hinder the bonding process.

If there are cracks, they must be ground down and smoothed out to give the final product a seamless look. The area where the hole was drilled is also cleaned and primed. Some body repairmen will even spray a layer of polyester primer over the repaired area to seal it and give it a smooth finish.

Next, the repairman must cut the fiberglass mat or cloth to the size needed for the area. The material is then mixed with a catalyst and resin to form one of the best repair materials in the world. The mixture is highly heat sensitive and will begin to harden in about 15-20 minutes, so the repairman must work quickly. A respirator is also recommended, since the mixture contains volatile chemicals that are dangerous if inhaled.

Once the mix is prepared, it is brushed onto the area where the fiberglass will be placed. The repairman then places the fiberglass cloth on top of the resin, and more resin is brushed over the area to ensure a good bond. The material is pressed tightly against the surface of the car, which helps it adhere to the metal frame underneath.

A fresh coat of gelcoat is then applied to the entire body, including the newly-formed fiberglass patch. This is similar to applying a fresh coat of primer or paint, but the gelcoat takes much longer to dry, and a professional will usually use a spray gun for application.

A final check of the patched area must be made to make sure that all air bubbles have been eliminated. It is not uncommon for air bubbles to appear in fiberglass, especially after a new piece is added to an existing fiberglass panel. The bubbles can be identified by tapping the surface of the fiberglass with a sharp object, and listening for a dull sound. When this is done, the bubbles can be sanded down and the area will be ready for a final coat of gelcoat.

Application

Fiberglass is a material that’s used in the bodywork of many classic cars. It’s a sturdy, weather-resistant material that can be repaired in the event of an accident or damage. There are many different ways to repair fiberglass, but one of the easiest is to use a fiberglass kit. These kits contain all of the necessary materials and directions for a do-it-yourself repair.

Before beginning the repair, the area must be cleaned thoroughly using acetone or contact cleaner. Once the surface has been cleaned, it must be roughed up with sandpaper (normally 280 grit) so that it will bond with the new fiberglass material. The sanding should be done on both sides of the damaged spot, as this will help to strengthen the patch.

Once the surface is clean, the fiberglass resin can be applied to the spot. This can be done with a brush, but it is important to work in a well-ventilated area. The resin mixture can give off fumes that are harmful to the lungs, so it’s important to wear a respirator mask when working with it. It’s also a good idea to wear gloves when handling the fiberglass resin, as it is flammable.

When the fiberglass resin is applied, a layer of fiberglass cloth must be placed on top of it. This cloth will be soaked in the same resin that was applied to the surface of the car, and it must be completely saturated so that there are no air pockets. Then, the resin and fiberglass must be pressed together to make sure it adheres properly.

After the fiberglass is cured, it can be painted. It’s a good idea to use a polyester gelcoat, as this will provide a long-lasting, glossy finish that’s resistant to chemicals. This is typically sprayed on using a spray gun, but it’s possible to do it by hand.

Anyone can perform fiberglass repairs if they’re careful and follow the proper steps. It may take a little time and patience, but it’s worth it to have a vehicle that looks as good as new.

Curing

Fiberglass is a very strong material, and is typically used to repair body panels in the event of an accident. It is a great option because it does not expand or contract like metal. It also is a lot more forgiving in terms of its placement. But even with these advantages, fiberglass can crack over time. In the event that your car suffers damage, it is important to have it repaired by a professional.

Whether your vehicle has sustained damage from a collision or just needs minor touch-ups, it is essential that the repairs are done correctly. There are a variety of ways that you can fix your vehicle’s fiberglass, but it is essential to follow all the necessary steps to ensure the work is completed properly.

First, the damaged area must be cleaned to remove any dirt or grease. Then, it is important to sand the area with heavy grit sandpaper to create a mechanical bond with the fiberglass. After sanding, it is essential to wipe down the surface with acetone or another solvent to ensure that the area is clean. Finally, the fiberglass patch must be cut to size and placed over the damaged area, ensuring that it overlaps the area to be repaired.

Next, the fiberglass patch must be soaked in resin. It is important to mix the resin and hardener correctly. This ratio varies between products and also based on the weather conditions. Adding too much hardener can cause the resin to produce too much heat, warping the fiberglass.

Once the resin and cloth have been cured, it is important to sand the patch and the surrounding area. This allows for a smooth finish and helps to blend the patch with the undamaged part of the body. Finally, the repaired area is prepared for primer and paint by blocking sanding with 400-grit wet-dry sandpaper and applying a polyester primer.

While it may be tempting to try and repair your own fiberglass, this is a job best left to professionals. A quality fiberglass professional will use all of the proper techniques to ensure that your damaged fiberglass is repaired in a way that looks like it never happened.

Finishing

Whether it’s a fiberglass boat or a vehicle body, the surface of any manufactured part must be properly finished. This process alters the material to achieve a specific appearance or make it more durable. The proper finishing processes depend on the material, but all require a high degree of skill and attention to detail. Finishing also involves proper curing, which can take several days depending on the size and nature of the repair. It is important to practice on smaller test pieces before attempting larger repairs, and to work in a well-ventilated area to prevent the buildup of harmful fumes from the resin.

A good fiberglass auto body shop should have a wide range of tools and products to handle a variety of situations. A professional will know how to use a variety of finishes to give the final product a smooth, natural look. The first step in the process is to clean the area thoroughly and remove all contaminants, including rust. Then, the surface must be roughed up using coarse sandpaper to provide a gripping surface for the filler. Finally, a primer should be applied to help the filler stick.

After the filler has been properly prepared, the next step is to apply the fiberglass layer. This must be done in small layers, allowing the previous layer to dry before applying another. During this time, the technician must be careful to ensure that the area is properly aligned with the surrounding paint. It is often necessary to screw a metal backer onto the underside of the crack to support it.

When the fiberglass has been successfully laid, the area must be sanded to remove all imperfections and to match the texture of the surrounding car body. Then, a polyester body filler can be used to fill in the blemishes. This product is sprayed on with a rubber spreader and sanded down until the repaired area blends with the undamaged paint.

Unlike metal, fiberglass is very rigid and may crack due to improper handling or temperature changes. A skilled technician can easily spot a crack and will be able to restore the integrity of the fiberglass using the proper techniques. The final result should be a vehicle that looks like it never had any damage in the first place.